Self-check-in takes the typing off your desk. Your job becomes reviewing what the patient said, not transcribing it — which is the subject of the next lesson. This one is about getting the kiosk running and knowing the patient's journey well enough to talk someone through it over a counter.
Setting it up
At the bottom of the Scheduling page is the Self check-ins (kiosk) panel. Press Kiosk QR.
You get a QR code under Scan to open the self-check-in kiosk, the link in text, and the line Device token valid until [date] — reissue to revoke. Pin this on the waiting-room iPad.
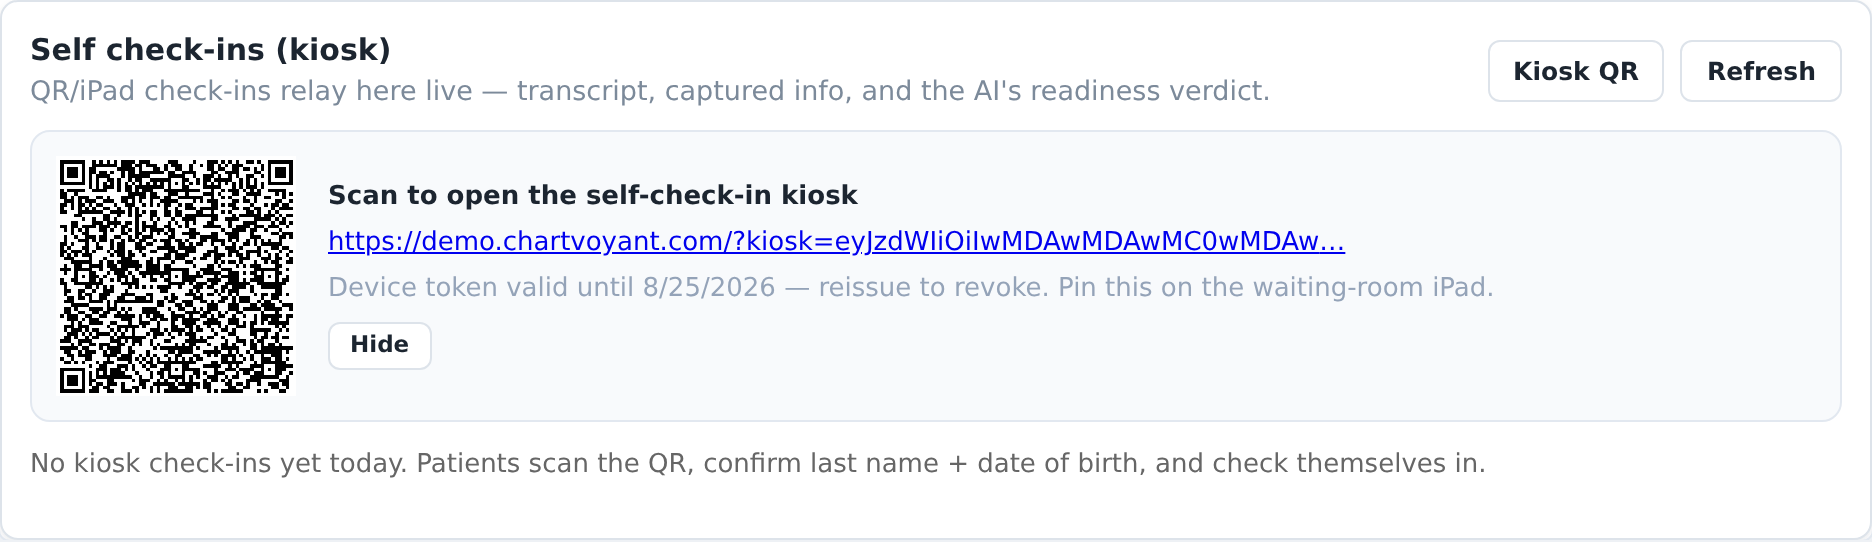
Two practical notes. The token lasts 30 days by default, so this is a monthly chore, not a daily one. And "reissue to revoke" is how you kill a lost iPad's access: press Kiosk QR again and the old token stops working.
What the patient sees
Five screens. Knowing them means you can help without walking round the desk.
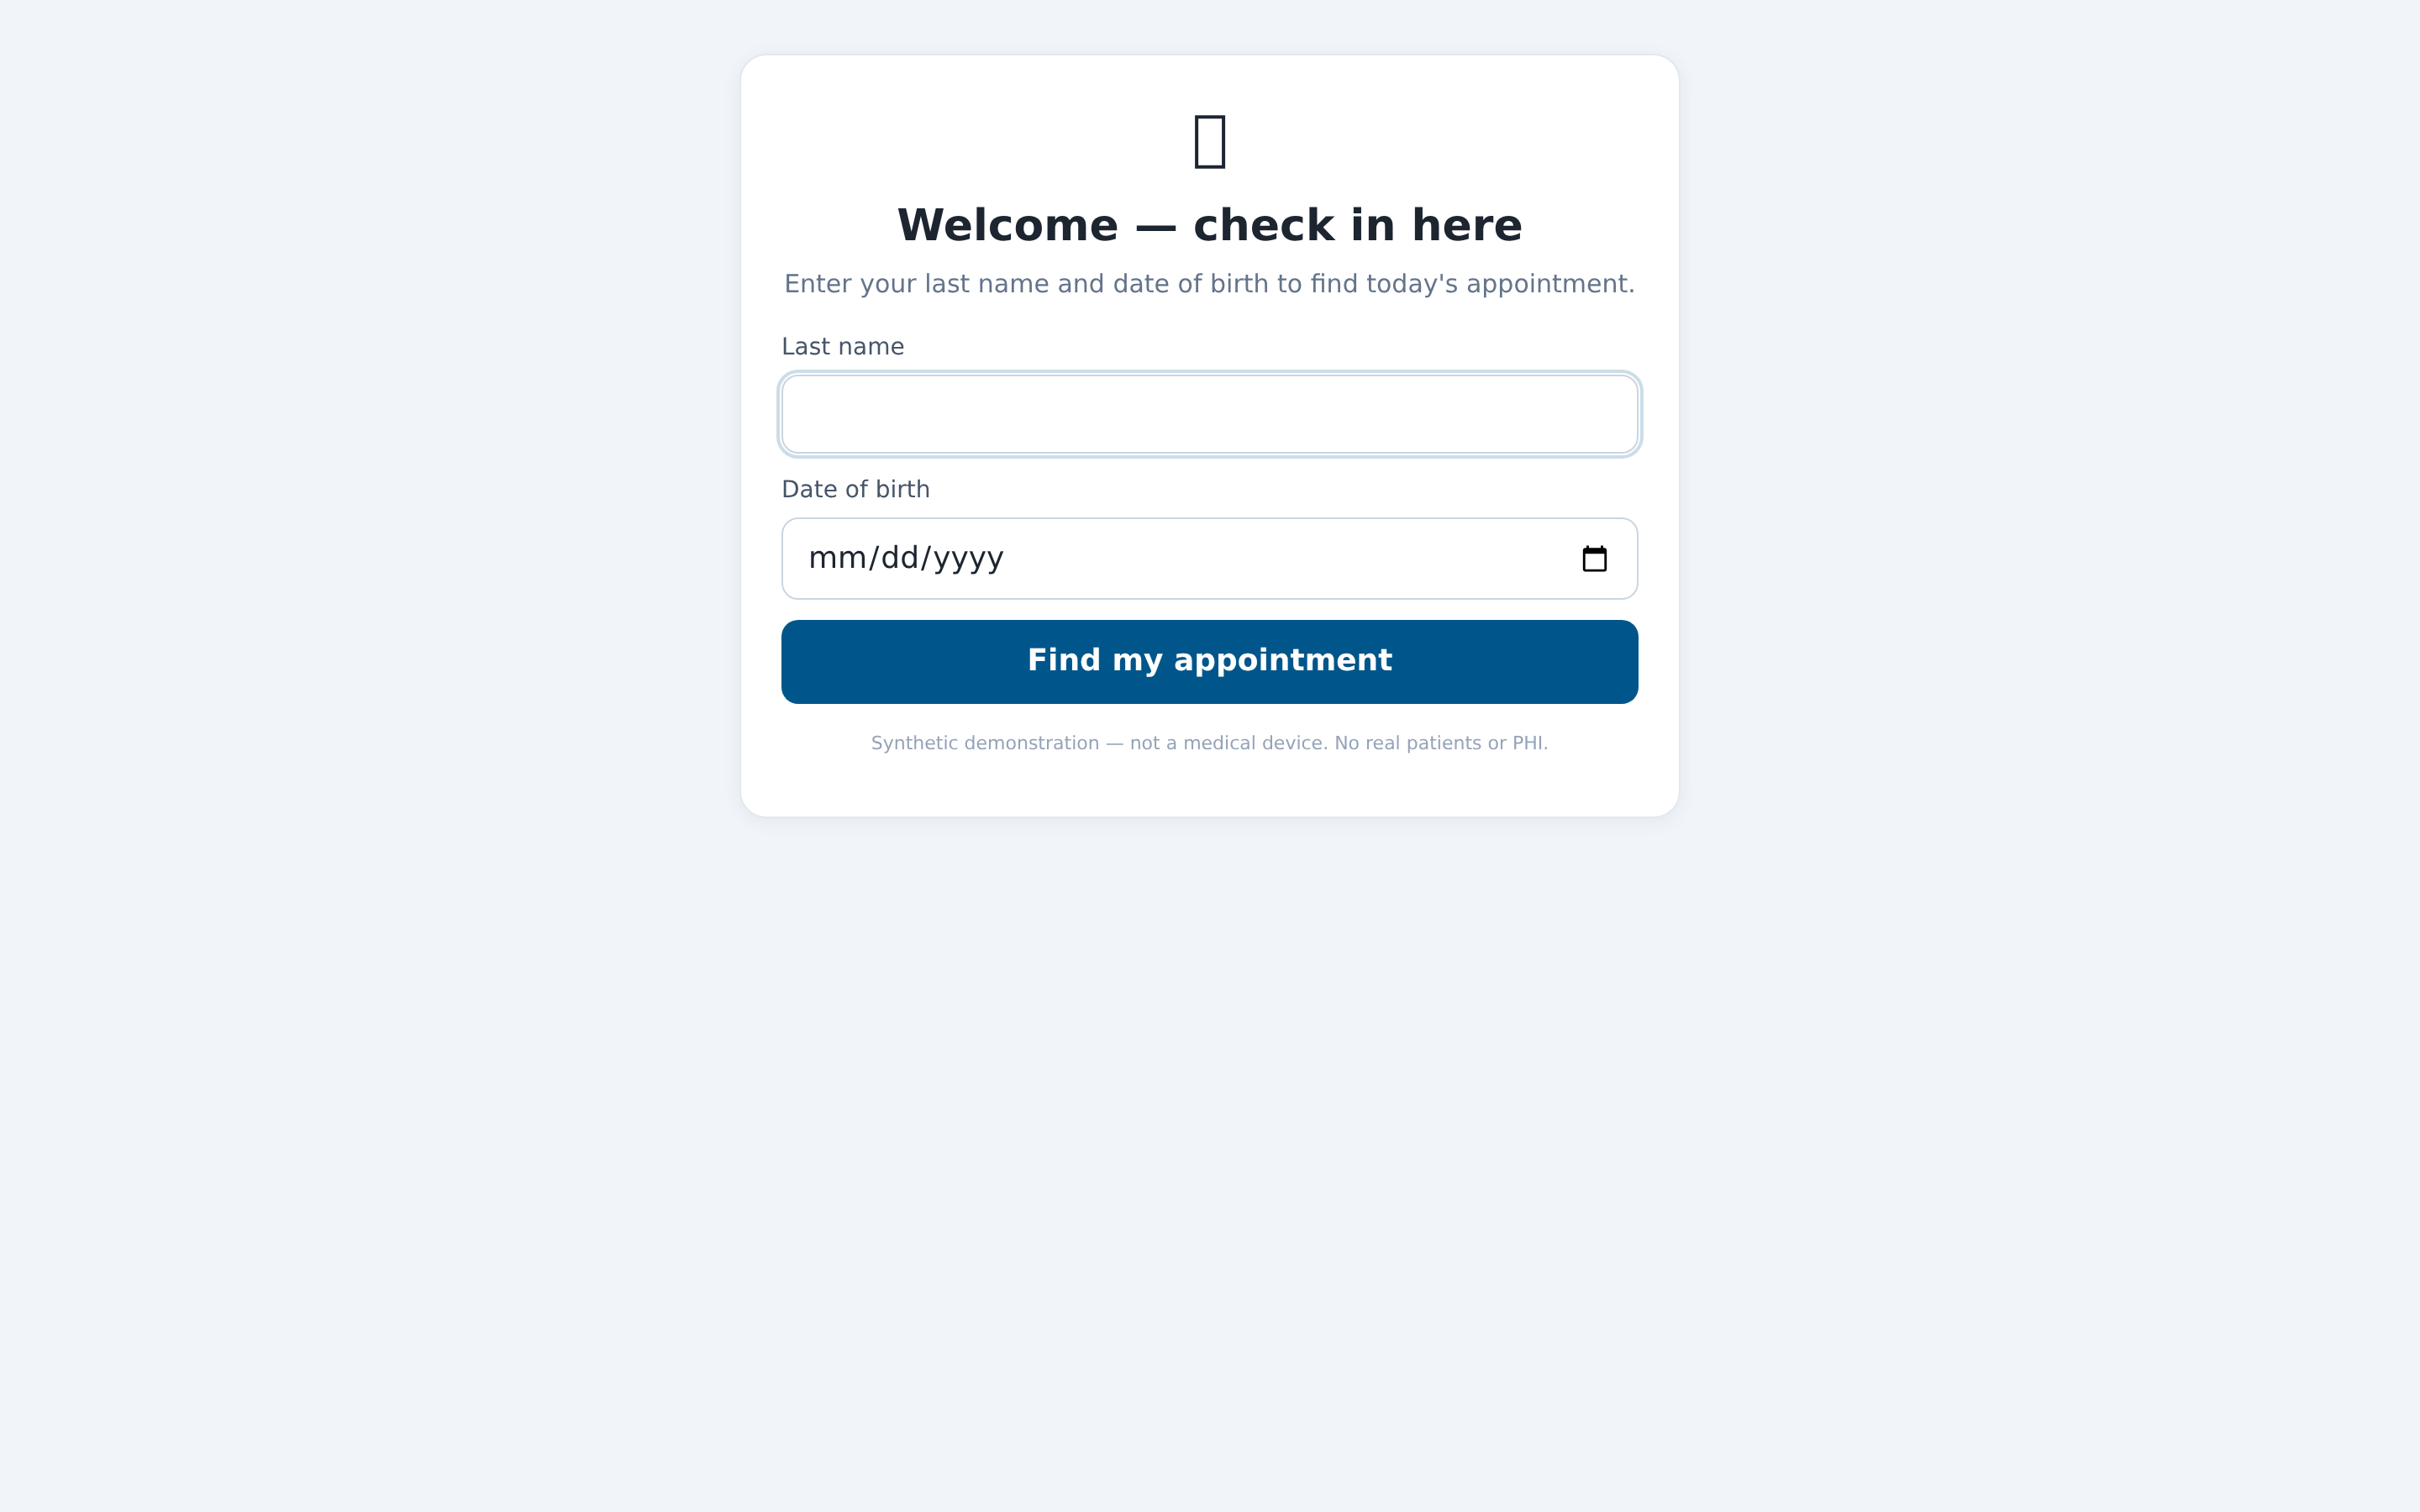
Identify. Welcome — check in here / Enter your last name and date of birth to find today's appointment.
Two fields — Last name and Date of birth — and Find my appointment.
If it doesn't match: We couldn't find a matching appointment for today. Please see the front desk. That wording is deliberately unhelpful, because the iPad is in a public room and shouldn't confirm who is or isn't a patient here.
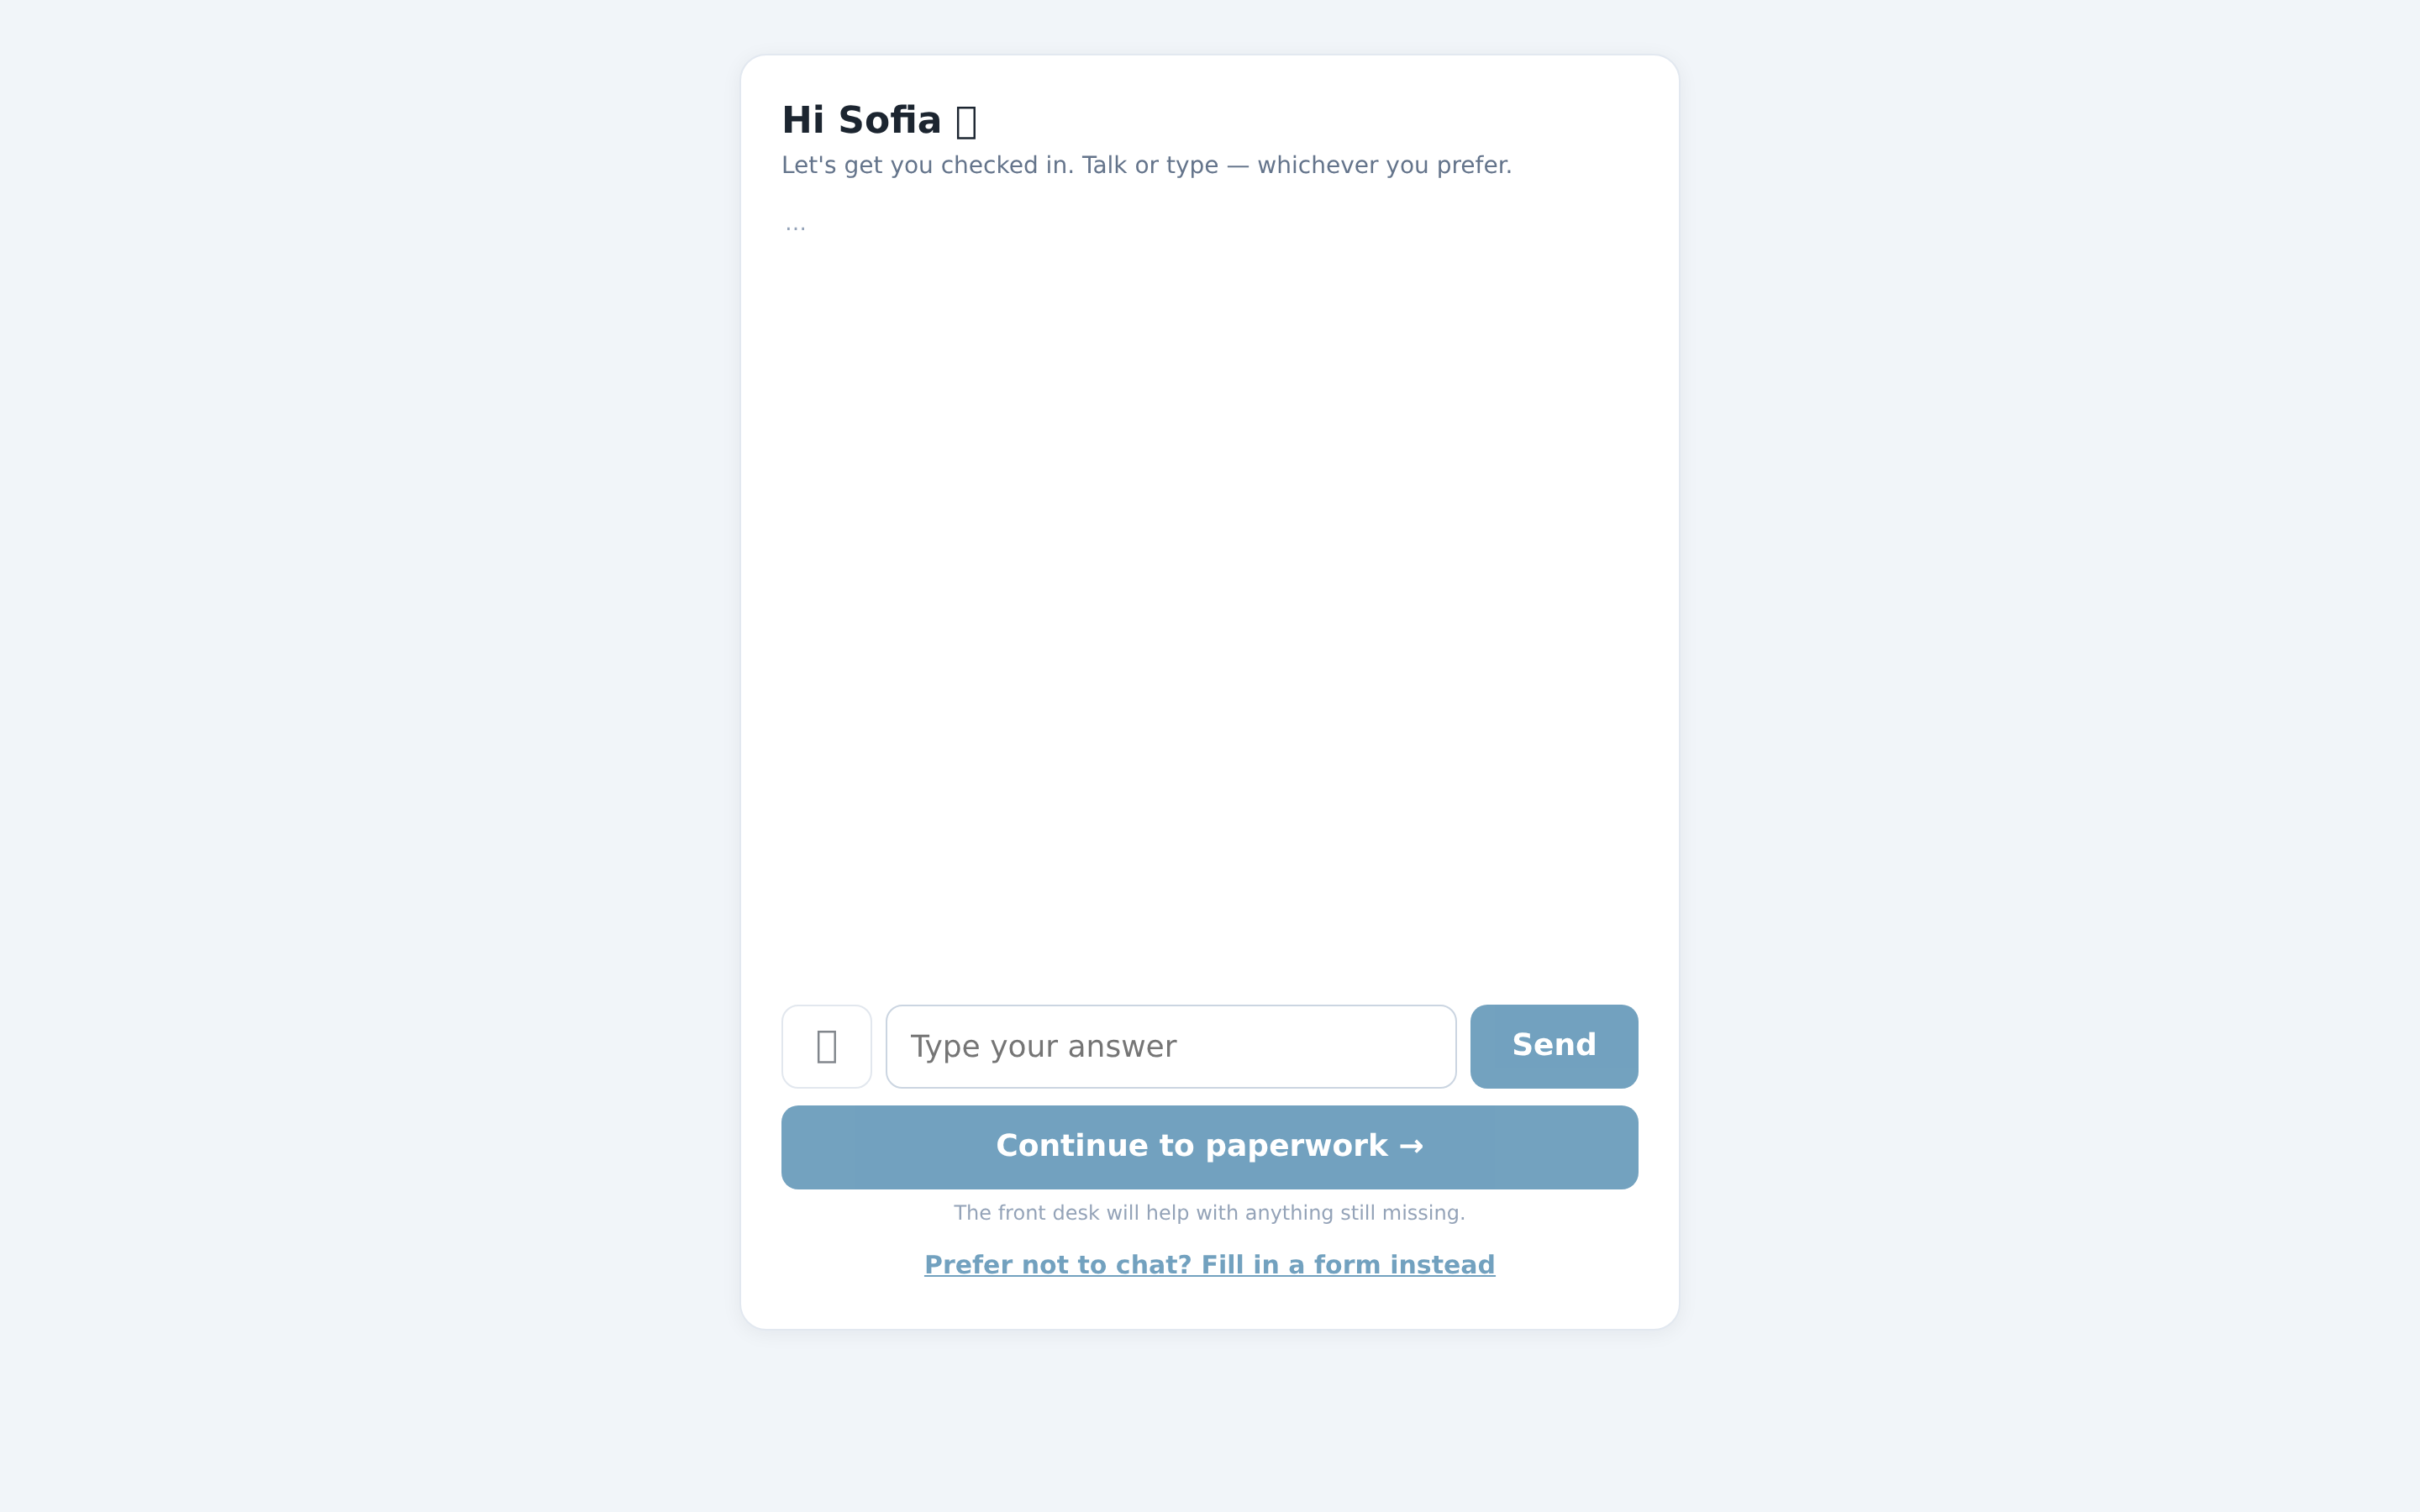
Intake conversation. Hi [first name] 👋 / Let's get you checked in. Talk or type — whichever you prefer.
They can speak (the 🎤 button) or type. The assistant collects contact details, insurance, pharmacy, and the reason for the visit.
Two escape hatches worth pointing out to a struggling patient: Prefer not to chat? Fill in a form instead, and Switch to front desk.
Paperwork — only when something is due. The heading is either New patient paperwork, [name] or A few forms to complete, [name].
New patients get the HIPAA Notice of Privacy Practices — Acknowledgement, which requires a signature. Everyone gets the six-monthly screeners when they're due: PHQ-9 (Depression screening), GAD-7 (Anxiety screening), and the Opioid Risk Tool (ORT).
Signing is a typed name plus an actual signature: Type your full legal name, Sign below, and the attestation By typing your name and signing above, you are signing this form electronically. Both are required.
Screenshot pending capture
Health questions — A few health questions, [name]. This one is mandatory.
Pain location chips (including No pain today), then three 1–10 scales — pain now, average over the past week, effect on activity — then yes/no items on medication changes and allergies, then the review of systems.
Finish check-in ✓ stays grey until the required answers are in, and a hint line says what's outstanding: Still needed: where your pain is, your pain level right now.
Screenshot pending capture
Done. Either You're checked in! Please have a seat — the medical assistant will call you back shortly. or, when something's missing, You're checked in! Please stop by the front desk for: … with a list.
Done — next patient resets the iPad for the next person.
Screenshot pending capture
Completing the kiosk sets the visit to arrived on your schedule, so the day view updates without you touching it.
The screeners and why they recur
PHQ-9, GAD-7 and ORT are set to recur every six months. The system works out what's due from the last recorded score — so a score a clinician entered by hand counts, and the patient isn't asked again unnecessarily.
That "what's due" decision is made on the server, every time, and re-checked when the patient presses finish. You can't accidentally skip a due screener by refreshing the kiosk.
What usually goes wrong
An expired device token. The kiosk stops working and nobody knows why. Reissue monthly, or whenever the iPad starts refusing people.
Assuming the kiosk covers everything. It captures contact details, insurance, pharmacy, reason, paperwork and health questions. It does not photograph the insurance card — that's the QR hand-off in a later lesson.
Not watching the list. A kiosk check-in that says Please stop by the front desk for: Insurance member ID needs you to act. The patient has done their part.
Reading the health answers as clinical fact. They're patient-reported and a clinician reviews them. Your job is to make sure they got captured, not to interpret them.