The old version of this job was a flatbed scanner, a shared folder, and someone renaming files. Here the patient photographs their own card and it arrives in the chart.
Where it lives
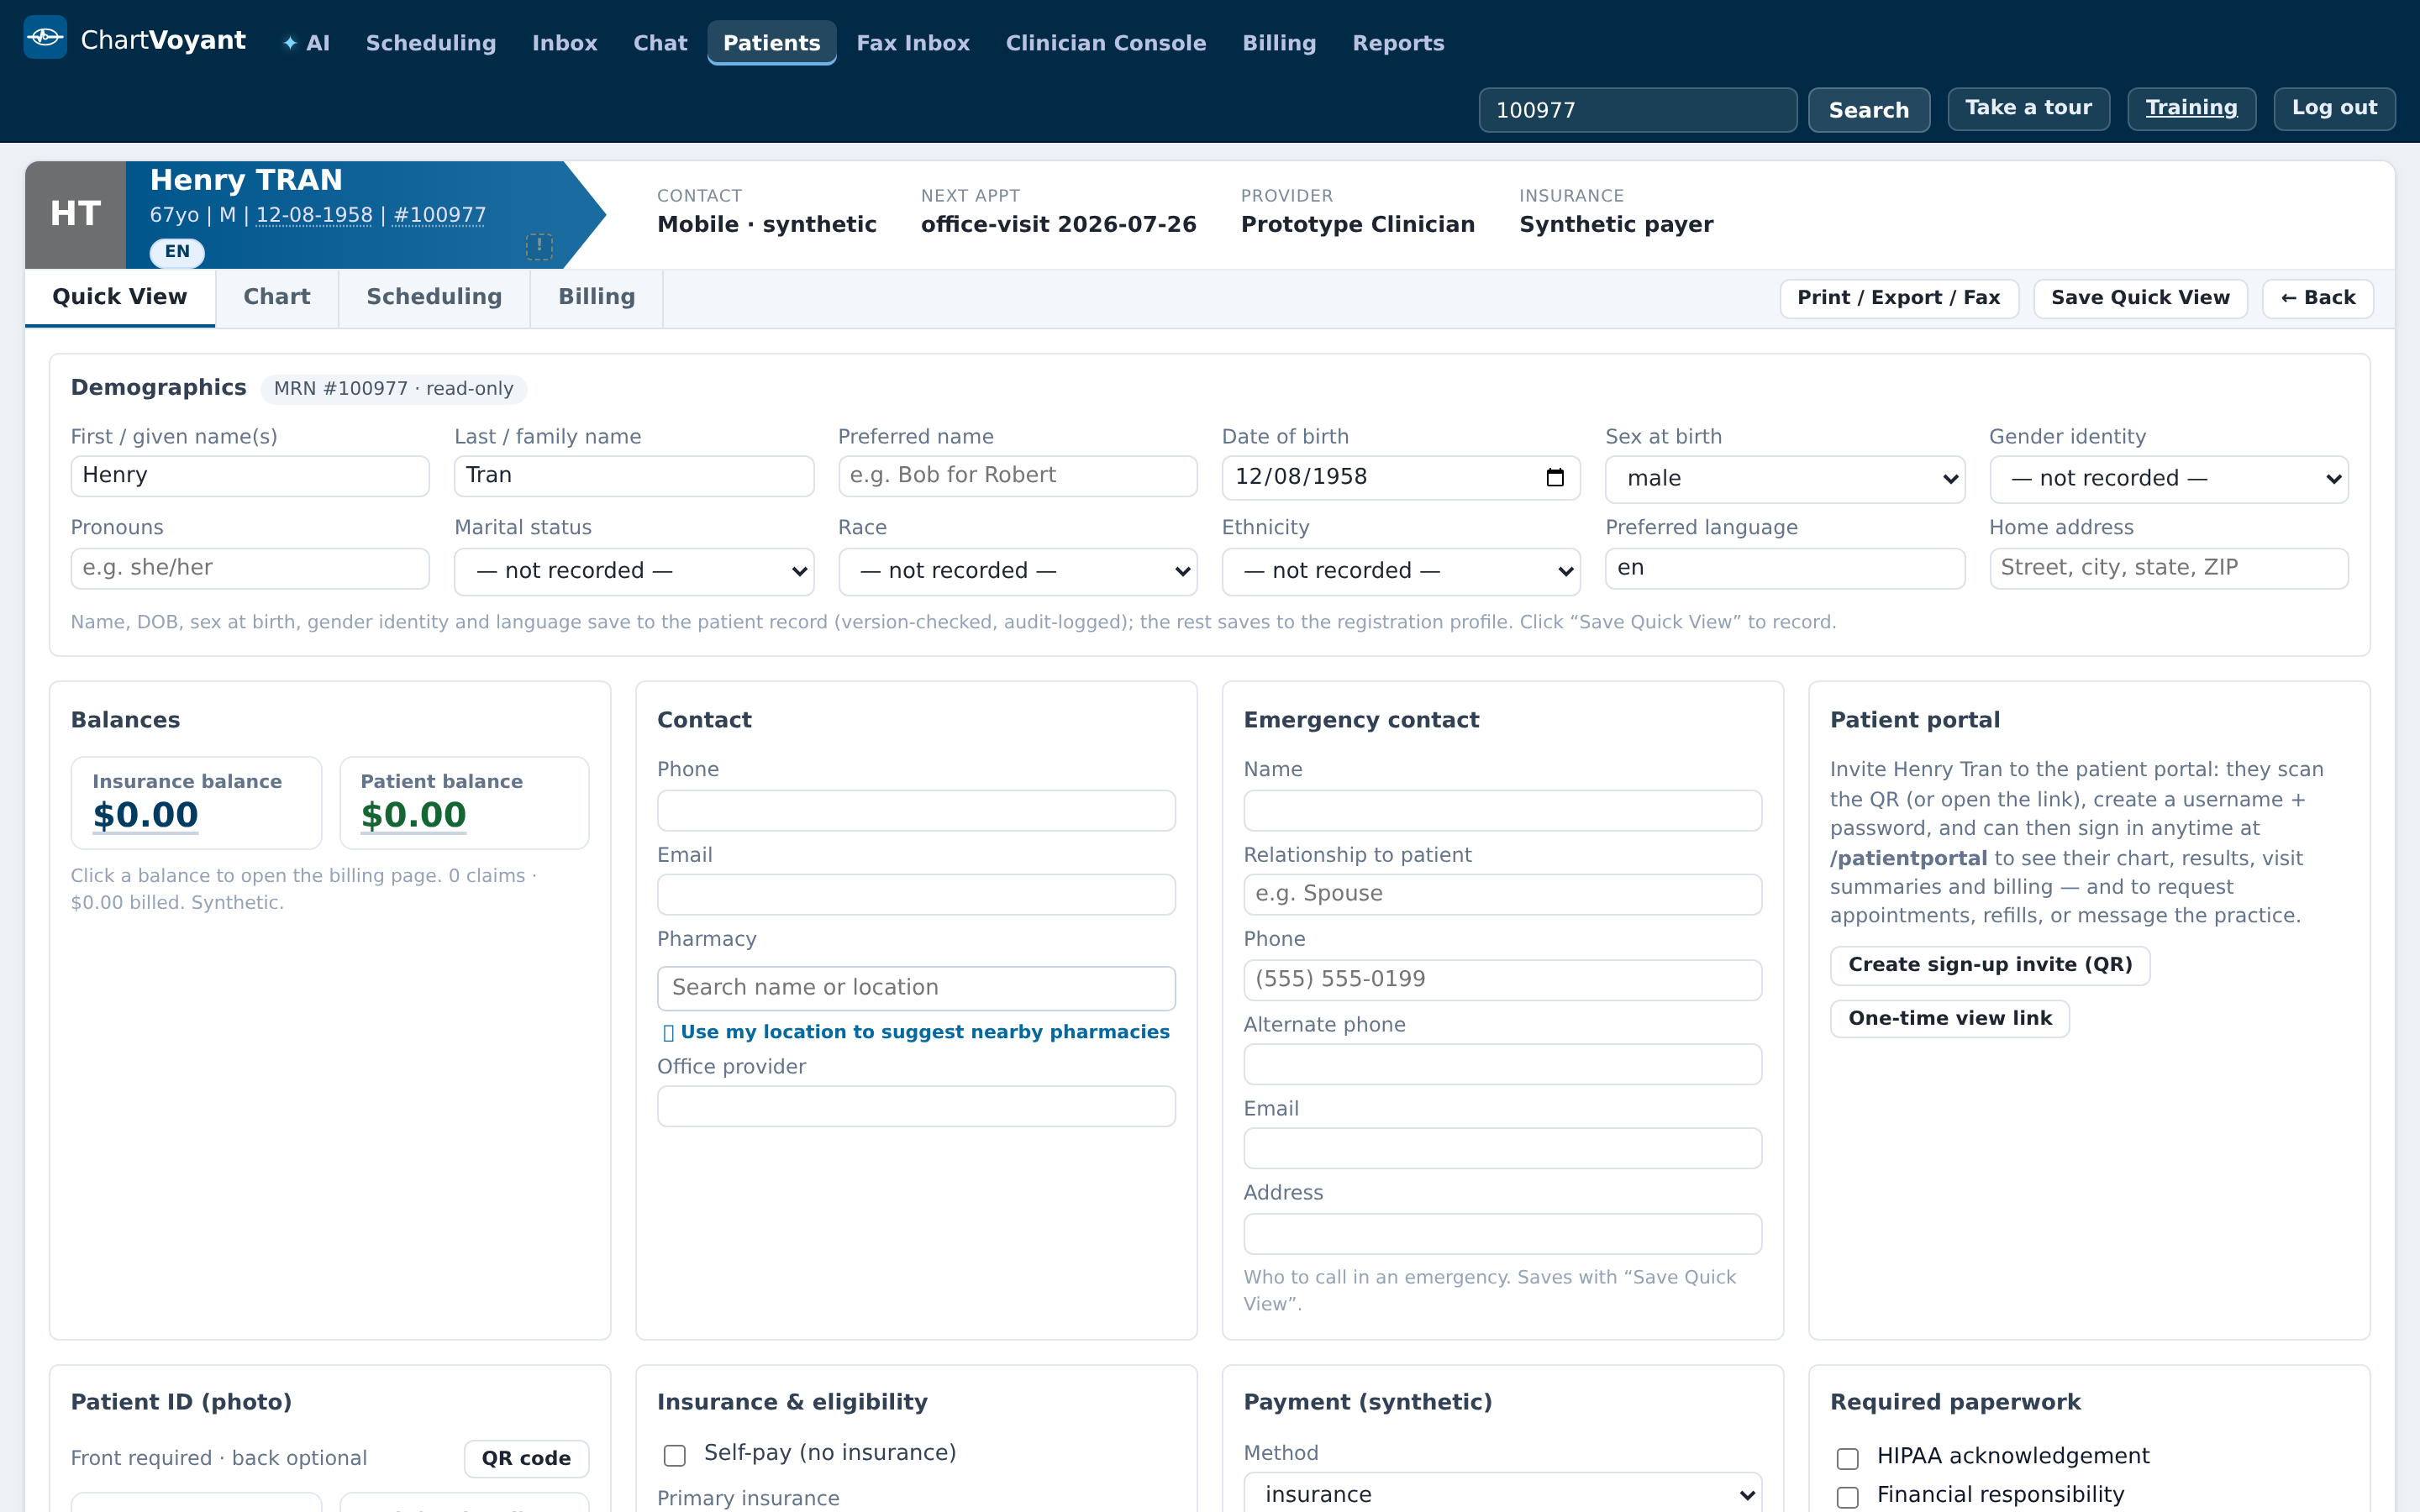
Open the patient's Quick View. Three panels do this work:
- Patient ID (photo) — driving licence or other photo ID
- Insurance & eligibility → Insurance cards — the card itself
- Patient photo — the headshot on the patient banner
Each shows two slots, Front and Back (optional), and each slot says ✓ on file or needed.
The phone hand-off
In the Insurance cards panel, press QR code.
A card appears: Scan with the patient's phone / Opens a page to photograph their insurance card (front, then optional back) and send it straight to this chart. Under it, how long the link lasts and Watching for the photo…
The patient scans it with their camera. Their phone opens a page headed CHARTVOYANT · SECURE UPLOAD with a greeting — Hi [first name] 👋 — and a title telling them exactly what to shoot: Photograph the front of your insurance card, with Line the card up inside the box, then tap Capture.
They tap ● Capture, then get an Adjust step — drag to move, pinch or slide to zoom, ⟳ to rotate a sideways card — and Use this photo.
Screenshot pending capture
Then Front received: Want to add the back of your insurance card? It's optional. — with Take a photo of the back and No thanks — I'm done.
When they finish: All set, [first name]! and You can hand the phone back now.
Screenshot pending capture
Back on your screen the slot has flipped to ✓ on file with a thumbnail. You didn't touch anything.
When there's no phone
Upload from computer on either slot — it reads Replace from computer when an image is already there. Take the photo on a practice tablet or use a scanner, then upload the file.
The banner photo
The Patient photo panel has a third button: Use ID photo, tooltip Crop & rotate the patient's ID into a photo. It opens Crop the ID into a photo — Drag to move · slider to zoom · rotate if the ID is sideways. Only the square is saved. — then Use as photo.
This is the fastest route to a recognisable face on the patient banner, which is a real safety feature: it's one more check that the chart open on screen belongs to the person in the room.
What usually goes wrong
Photographing a card into a phone's own camera roll first. Use the QR page. A card photo sitting in a personal camera roll is a privacy problem that outlives the visit.
Chasing the back of the card. It's optional. Get the front, check the patient in, ask for the back if billing needs it.
Uploading the card to the wrong patient. The QR link is issued from this chart, so the phone route can't go astray — but a computer upload can. Check the name in the header before you upload.
Not looking at the photo. A blurry, half-cropped card is no better than no card. Glance at the thumbnail while the patient is still standing there.